Seamless Water Softener Setup for Optimal Performance
Water softener systems are designed to improve water quality by reducing mineral content, which can cause scale buildup and affect appliance longevity. Proper installation ensures optimal performance and longevity of the system.
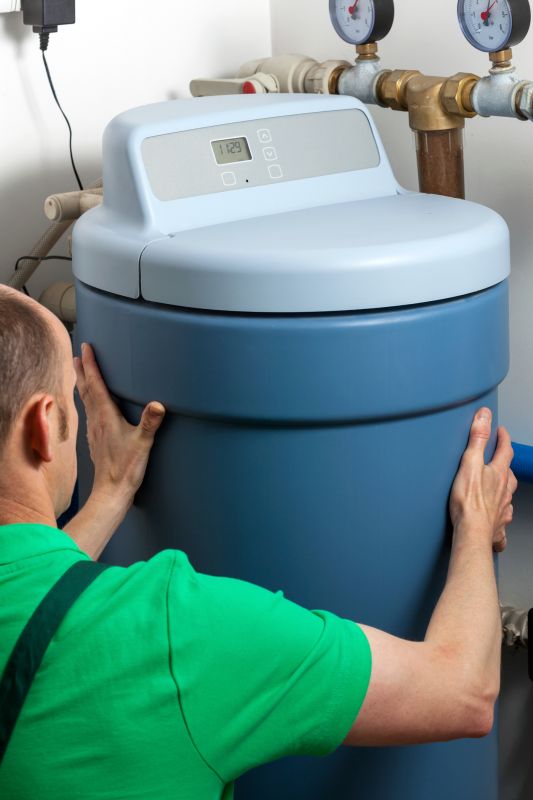
Installation involves connecting the system to existing plumbing to ensure efficient water treatment.
Secure and precise pipe connections are essential for effective water flow and system operation.
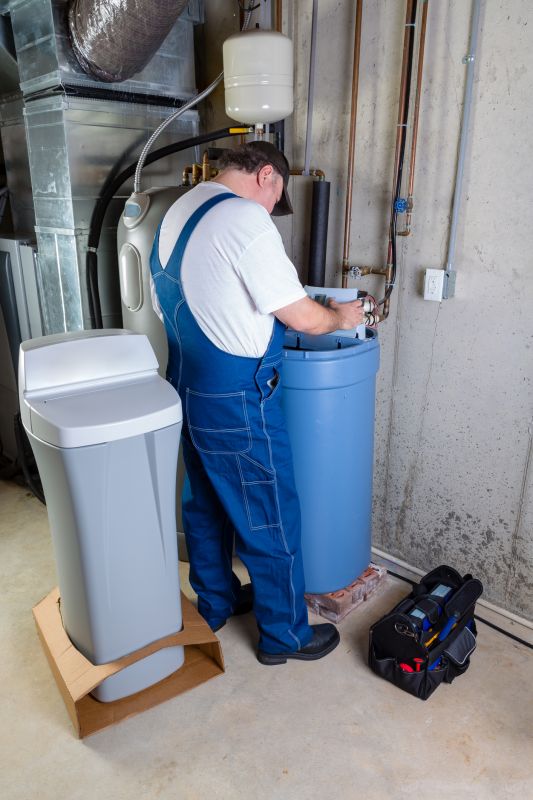
Proper placement of control valves ensures easy operation and maintenance of the system.
Installing drain lines safely directs wastewater away from the property.
Electrical wiring is integrated to power the system's control components.
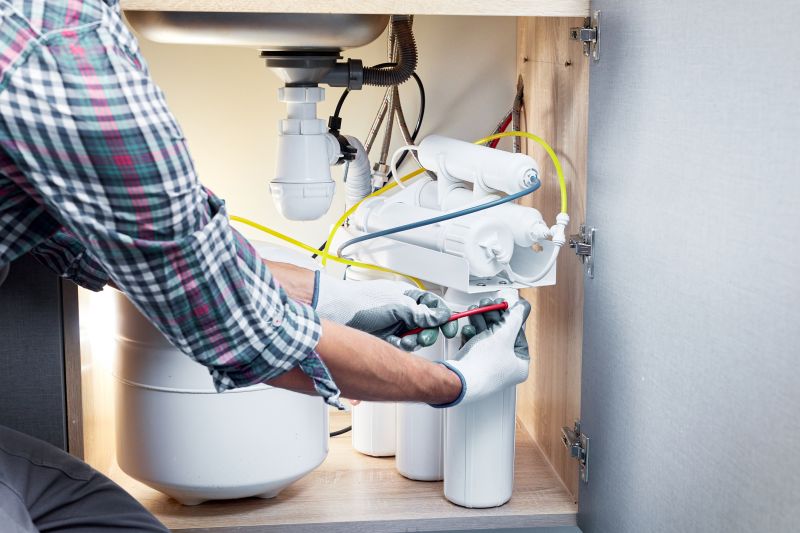
Allows for system maintenance without disrupting water supply.
Ensures the system functions correctly and efficiently after installation.
A thorough check confirms all connections are secure and the system operates properly.
Provides guidance on system operation and maintenance for optimal use.
Statistics show that installing a water softener can significantly reduce mineral buildup in plumbing and appliances, leading to lower energy costs and longer-lasting fixtures. Many households notice improved water quality and reduced soap usage.
Enhances water quality, prevents scale buildup, extends appliance lifespan, and reduces soap and detergent usage.
A professional will assess the property, connect the system to existing plumbing, and perform testing to ensure proper operation.
Typically, the process takes a few hours, depending on the property's plumbing complexity and system size.
Instructions will be provided for system maintenance and optimal performance.
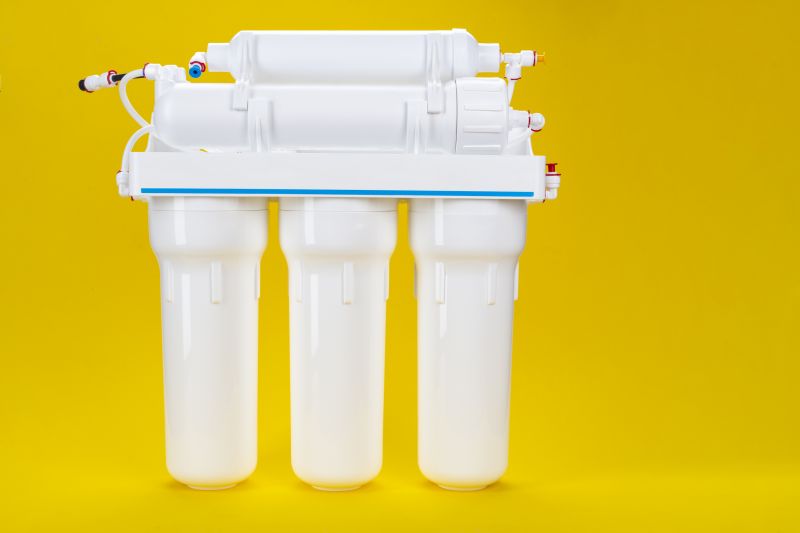
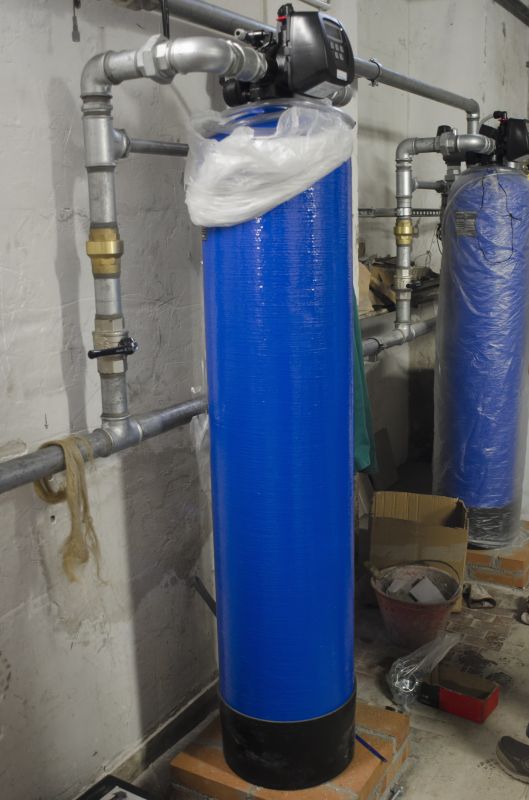
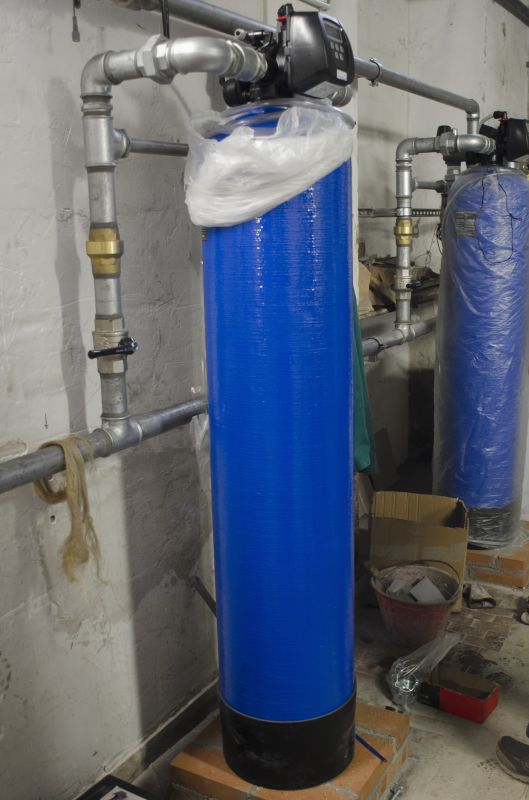
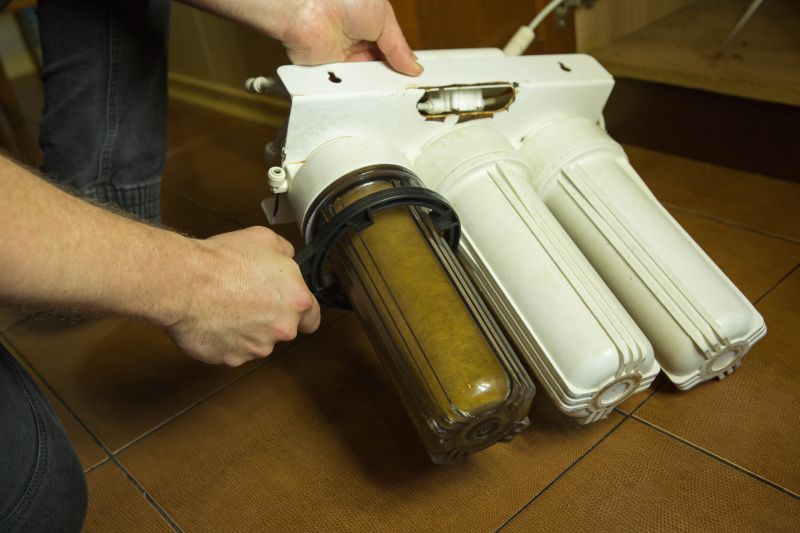
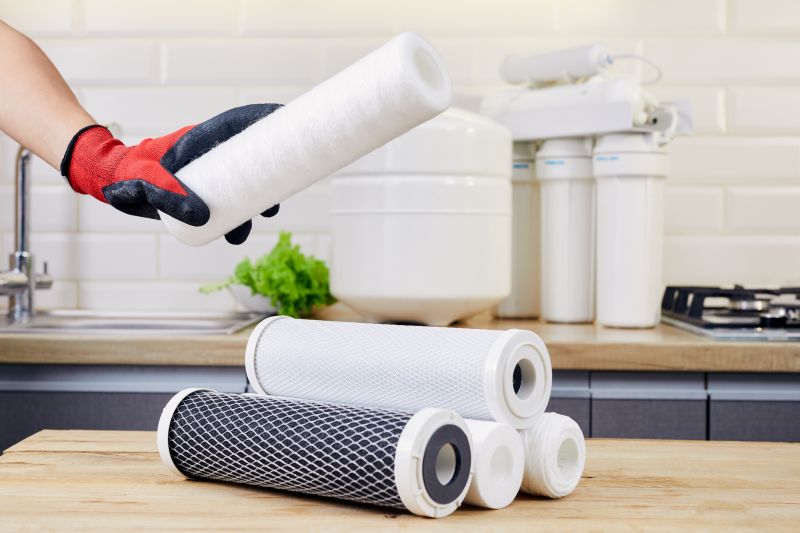
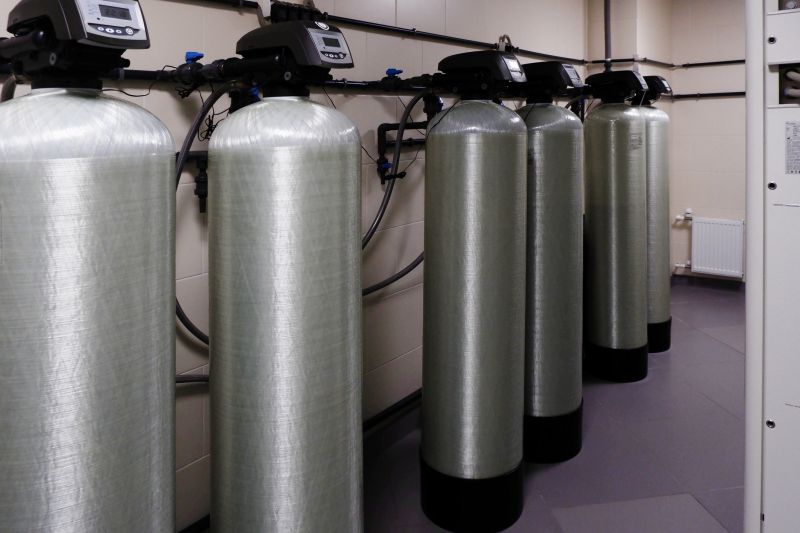
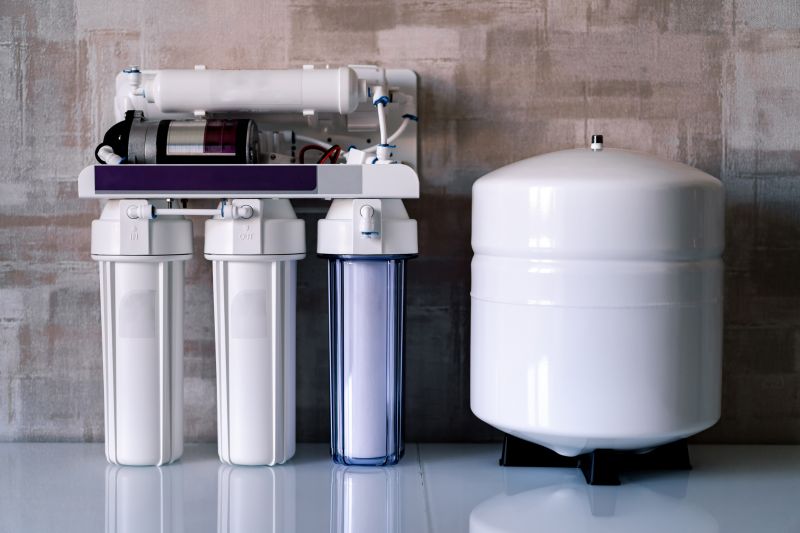
Additional water softener installation images illustrate the process and setup, emphasizing the importance of professional service for reliable results.
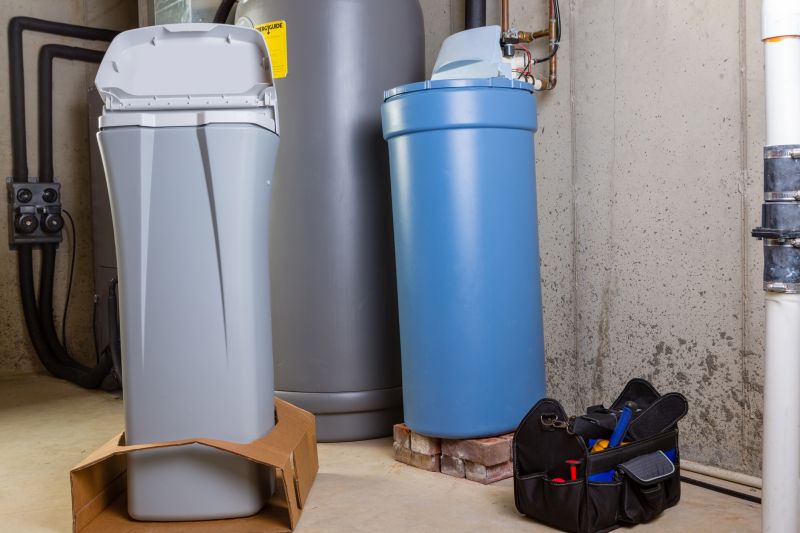
Showcases a completed installation ready for operation, highlighting proper placement and connections.

Depicts the setup process, including pipe and control valve connections.
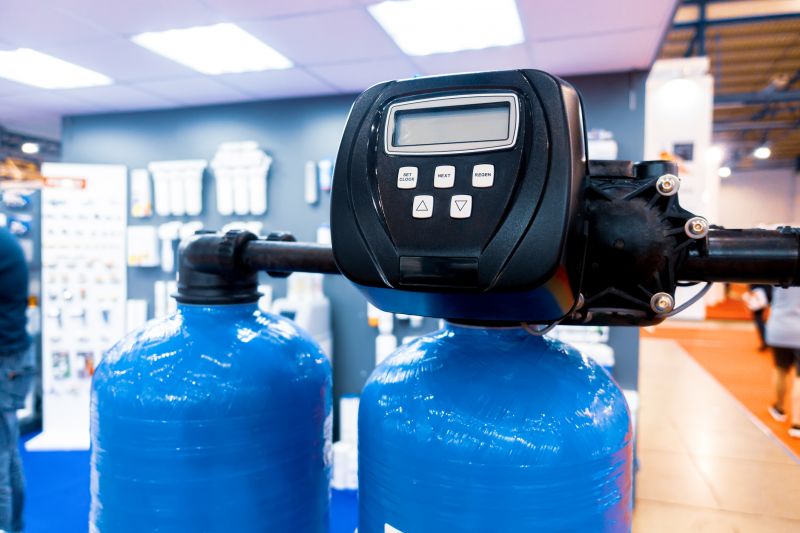
Demonstrates the testing and calibration of the water softener to ensure functionality.
Highlights guidance provided to customers on system use and maintenance after installation.
Interested in upgrading water quality through professional water softener installation? Fill out the contact form today to receive a detailed quote tailored to specific needs in Laurel, MD.